使用verdaccio打造自己的npm私有化仓库
本文最后更新于:1 个月前
前言
接着上篇文章Gitea+Jenkins能碰撞出怎样的火花?浅谈前端自动化部署_DieHunter1024的博客-CSDN博客
本文将与大家分享使用verdaccio搭建私有化npm仓库以及npm包的发布
准备工作
安装配置verdaccio
使用npm install –global verdaccio全局安装verdaccio
在服务器中新建文件夹用来存放npm数据
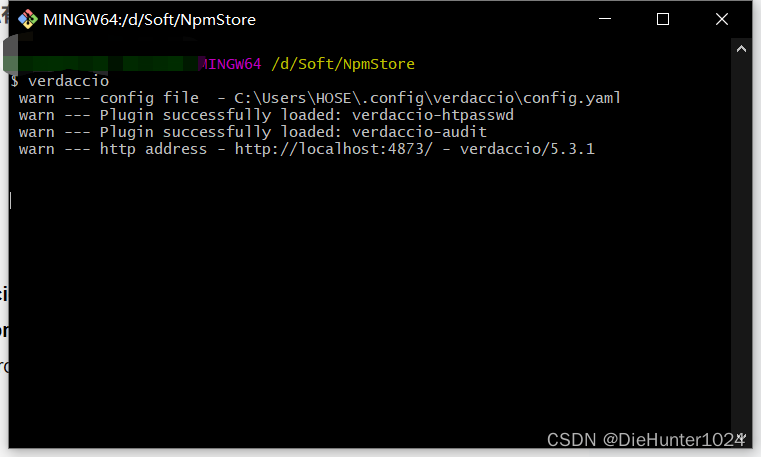
在新建的文件夹中运行cmd输入verdaccio,显示以下日志就可以了
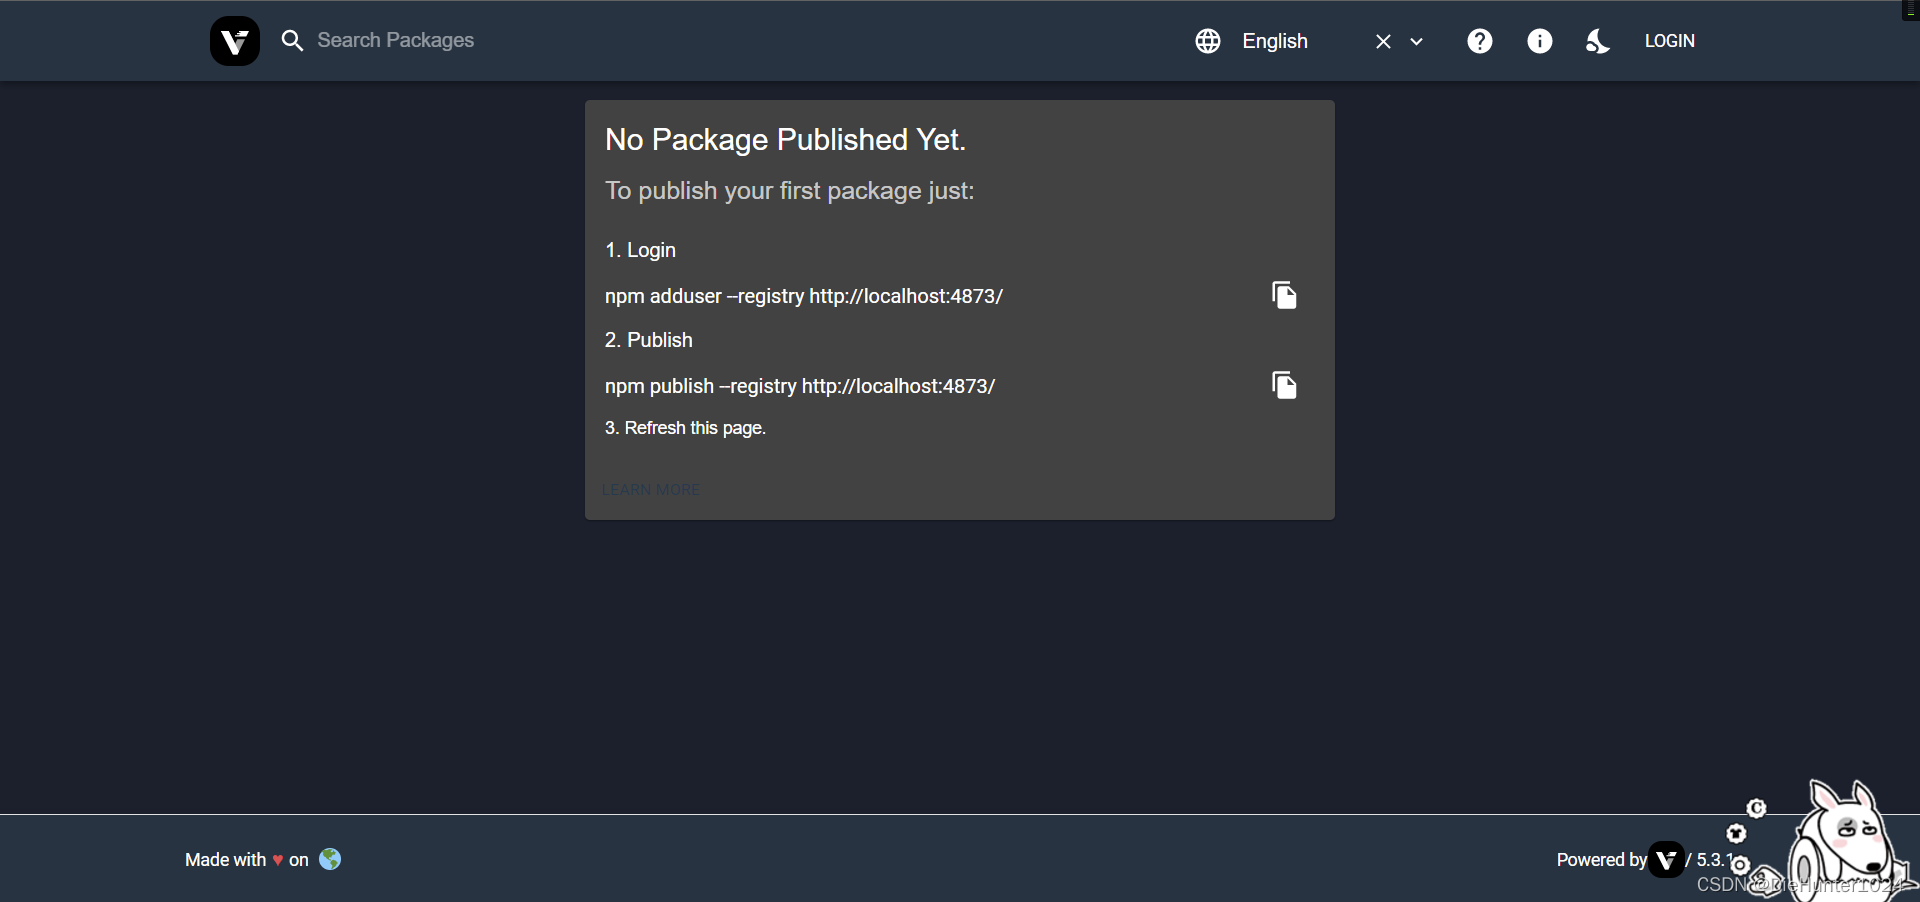
在浏览器打开http://localhost:4873/显示以下页面就可以进行下一步了
通过日志可以知道verdaccio的yaml文件在C:\Users\用户名\.config\verdaccio\config.yaml,我们可以自定义该文件并且手动启动,将yaml文件复制到新建的文件夹下并修改文件,以下是我的配置文件,仅供参考
# 数据缓存目录
storage: ./storage
# 插件目录
plugins: ./plugins

#开启web 服务,能够通过web 访问
web:
  # 页面title名称
  #enable: false
  title: NPM-diehunter
#验证信息
auth:
  htpasswd:
    #  用户信息存储目录
    file: ./htpasswd
    # 最大注册人数,默认infinity
    #max_users: 1000

#公有仓库配置
uplinks:
  npmjs:
    # url: https://registry.npmjs.org/
    # taobao镜像
    url: https://registry.npmmirror.com/

packages:
  "@*/*":
    # scoped packages
    access: $all
    publish: $authenticated
    #代理 如果本地仓库没找到会去npmjs中找,npmjs就是uplinks中的变量
    proxy: npmjs

  "**":
    # 权限:所有人,匿名用户,认证(登陆)用户
    # "$all", "$anonymous", "$authenticated"

    #是否可访问所需要的权限
    access: $all

    #发布package 的权限
    publish: $authenticated

    # 如果package 不存在,就向代理的上游服务发起请求
    proxy: npmjs

middlewares:
  audit:
    enabled: true
# 监听本地所有ip,配置了后可以通过公网访问
listen: 0.0.0.0:10241
# 日志
logs:
  - { type: stdout, format: pretty, level: http }
  #- {type: file, path: verdaccio.log, level: info}
使用cmd脚本启动文件,可以将以下命令写成bat文件并放在文件夹目录
verdaccio --listen 10241 --config ./config.yaml最后运行命令,打开网页

此外,可以参考Nginx常用指令,基本配置,反向代理_DieHunter1024的博客-CSDN博客,把npm仓库反向代理到路由,不占用端口
上传代码至仓库
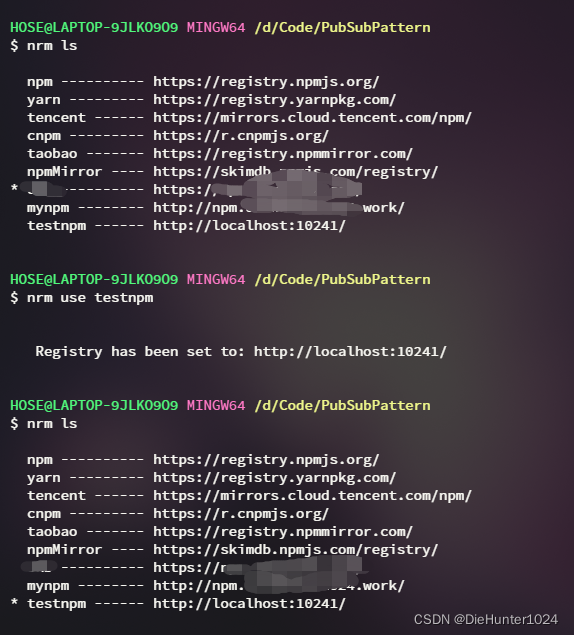
推荐使用nrm管理npm仓库地址,切换仓库地址为http://localhost:10241/
以之前写的PubSubPattern(发布订阅)为例子,在文件夹中 npm init -y 新建package.json文件,并配置name,version等
{
"name": "pub_sub_pattern",
"version": "1.0.0",
"description": "",
"main": "index.js",
"scripts": {
"test": "echo \"Error: no test specified\" && exit 1"
},
"keywords": [],
"author": "",
"license": "ISC"
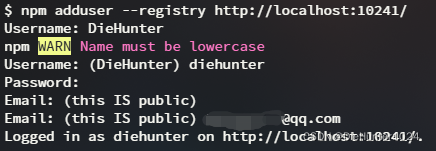
}注册用户:使用npm adduser –registry http://localhost:10241/注册用户,输入用户名(小写),密码,邮箱
然后在index.js中写入源码
exports.PubSubPattern = class PubSubPattern {
  constructor() {
    this._eventList = {}; //调度中心列表
  }
  static Instance() {
    //返回当前类的实例的单例
    !PubSubPattern._instance &&
      Object.defineProperty(PubSubPattern, "_instance", {
        value: new PubSubPattern(),
      });
    return PubSubPattern._instance;
  }
  on(type, handler) {
    if (!checkArgs(type, handler)) {
      return;
    }
    //若调度中心未找到该事件的队列,则新建某个事件列表(可以对某个类型的事件注册多个回调函数)
    !isKeyInObj(this._eventList, type) && (this._eventList[type] = new Array());
    this._eventList[type].push(handler);
  }
  un(type, handler) {
    if (!type) {
      return;
    }
    const fnList = this._eventList[type];
    if (type && (!handler || typeof handler !== "function")) {
      this._eventList[type] = null;
      return;
    }
    for (let i = 0; i < fnList.length; i++) {
      fnList[i] && fnList[i] === handler && (this._eventList[type][i] = null);
    }
  }
  once(type, handler) {
    if (!checkArgs(type, handler)) {
      return;
    }
    const _handler = (args) => {
      this.un(type, _handler);
      handler(args);
    };
    this.on(type, _handler);
  }
  emit(type, module) {
    if (!type) {
      return;
    }
    const fnList = this._eventList[type];
    if (!fnList) {
      return;
    }
    isKeyInObj(this._eventList, type) && fnList.map((_) => _ && _(module));
  }
  clear() {
    this._eventList = {};
  }
}

/**
 * 检查对象是否包含该属性,除原型链
 * @param obj 被检查对象
 * @param key 被检查对象的属性
 */
function isKeyInObj(obj, key) {
  return Object.hasOwnProperty.call(obj, key);
}
/**
 * 检查参数是否符合标准
 * @param type 事件名
 * @param handler 事件钩子
 */
function checkArgs(type, handler) {
  if (!type) {
    return;
  }
  if (!handler || typeof handler !== "function") {
    throw new Error(
      "handler is not defined or not a function at arguements[1]"
    );
  }
  return true;
}
完成后输入npm publish –registry http://localhost:10241/将代码发布到npm仓库
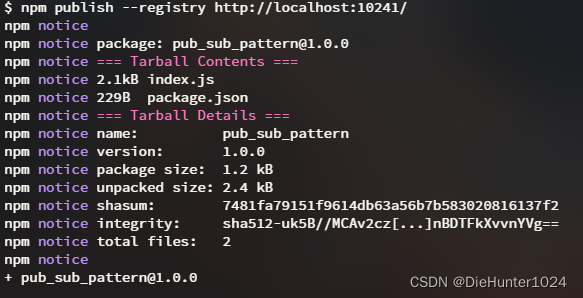
npm包的发布就完成了
安装依赖
另起一个test文件夹,使用
npm init -y
npm ipub_sub_pattern
下载依赖

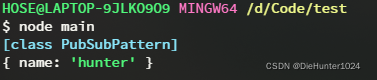
在test文件夹中新建main.js输入以下内容
const { PubSubPattern } = require("pub_sub_pattern");
console.log(PubSubPattern);
PubSubPattern.Instance().on("event", (data) => {
  console.log(data);
});

setTimeout(() => {
  PubSubPattern.Instance().emit("event", { name: "hunter" });
}, 1000);
并且在控制台执行node main,出现以下日志就表示成功了
写在最后
最后,我们可以配合这篇文章Gitea+Jenkins能碰撞出怎样的火花?浅谈前端自动化部署_DieHunter1024的博客-CSDN博客
将npm publish –registry http://localhost:10241/命令放在Jenkins的命令中实现自动发布npm,这便是微前端的雏形
感谢你看到了这里,如果这篇文章对你有帮助,请点个赞支持一下作者!你的支持是作者创作的动力~
本博客所有文章除特别声明外,均采用 CC BY-SA 4.0 协议 ,转载请注明出处!